

How to install a tall wall - mounted cabinet on a sloped wall?
Jul 23, 2025
Installing a tall wall-mounted cabinet on a sloped wall can be a challenging yet rewarding project. As a supplier of Tall Wall Mounted Cabinets, I've encountered numerous customers facing this exact situation. In this blog, I'll share comprehensive steps and essential tips to ensure a successful installation.
Understanding the Challenges of a Sloped Wall
Before diving into the installation process, it's crucial to understand the unique challenges posed by a sloped wall. Unlike a flat wall, a sloped wall has uneven surfaces, which can make it difficult to level the cabinet properly. Additionally, the angle of the slope can affect the stability of the cabinet and the distribution of weight. Therefore, accurate measurements and careful planning are essential to overcome these challenges.
Tools and Materials You'll Need
To install a tall wall-mounted cabinet on a sloped wall, you'll need the following tools and materials:
- Measuring tape
- Level
- Stud finder
- Drill
- Screwdriver
- Wall anchors
- Mounting brackets
- Cabinet
- Safety goggles
- Gloves
Step 1: Measure the Wall and Cabinet
The first step is to measure the wall and the cabinet accurately. Use a measuring tape to determine the height and width of the wall where you plan to install the cabinet. Then, measure the height and width of the cabinet to ensure it will fit properly. Take note of any irregularities or slopes in the wall, as these will need to be addressed during the installation process.
Step 2: Locate the Wall Studs
Using a stud finder, locate the wall studs behind the sloped wall. Wall studs provide a secure and stable base for mounting the cabinet. Mark the position of the studs on the wall using a pencil. If the wall is made of concrete or masonry, you'll need to use wall anchors instead of wall studs.
Step 3: Prepare the Mounting Brackets
Most tall wall-mounted cabinets come with mounting brackets that need to be installed on the wall. Follow the manufacturer's instructions to prepare the mounting brackets. This may involve cutting the brackets to the appropriate length or drilling holes for the screws.
Step 4: Install the Mounting Brackets
Once the mounting brackets are prepared, it's time to install them on the wall. Use a drill to make holes in the wall at the marked positions of the wall studs or where the wall anchors will be placed. Insert the wall anchors into the holes, if necessary. Then, attach the mounting brackets to the wall using screws. Make sure the brackets are level and secure.
Step 5: Adjust the Brackets for the Slope
Since the wall is sloped, you'll need to adjust the mounting brackets to ensure the cabinet is level. Use a level to check the horizontal and vertical alignment of the brackets. If the brackets are not level, you can use shims to adjust their position. Shims are thin pieces of wood or plastic that can be inserted between the bracket and the wall to create a level surface.
Step 6: Lift and Attach the Cabinet
With the mounting brackets installed and adjusted, it's time to lift the cabinet into place. Enlist the help of a friend or family member to make the lifting process easier and safer. Carefully lift the cabinet and align it with the mounting brackets on the wall. Insert the screws through the holes in the cabinet and into the mounting brackets. Tighten the screws securely to attach the cabinet to the wall.
Step 7: Check the Level and Stability
Once the cabinet is attached to the wall, use a level to check its horizontal and vertical alignment. Make any necessary adjustments by tightening or loosening the screws on the mounting brackets. Also, check the stability of the cabinet by gently shaking it. If the cabinet feels loose or wobbly, reinforce the mounting brackets or add additional wall anchors.
Step 8: Finish the Installation
After ensuring the cabinet is level and stable, you can finish the installation by adding any additional hardware or accessories, such as handles or knobs. You may also want to caulk around the edges of the cabinet to seal any gaps and prevent moisture from seeping in.
Tips for a Successful Installation
- Plan ahead: Take the time to measure and plan the installation carefully. This will help you avoid mistakes and ensure a smooth installation process.
- Use the right tools: Make sure you have all the necessary tools and materials before you start the installation. Using the right tools will make the job easier and safer.
- Get help: Installing a tall wall-mounted cabinet on a sloped wall can be a heavy and challenging task. Enlist the help of a friend or family member to make the lifting and installation process easier.
- Follow the manufacturer's instructions: Always follow the manufacturer's instructions when installing the cabinet and mounting brackets. This will ensure the cabinet is installed correctly and safely.
- Be patient: Installing a cabinet on a sloped wall may take longer than on a flat wall. Be patient and take your time to ensure the installation is done correctly.
Related Products
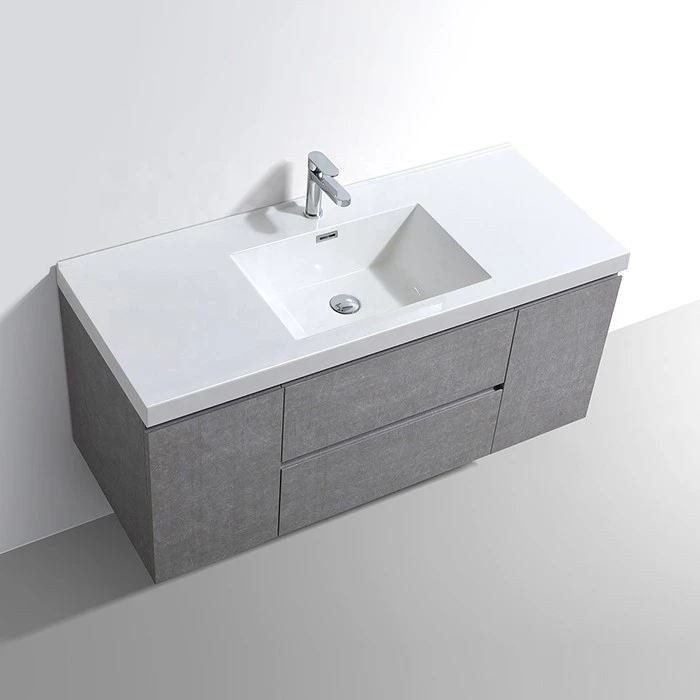
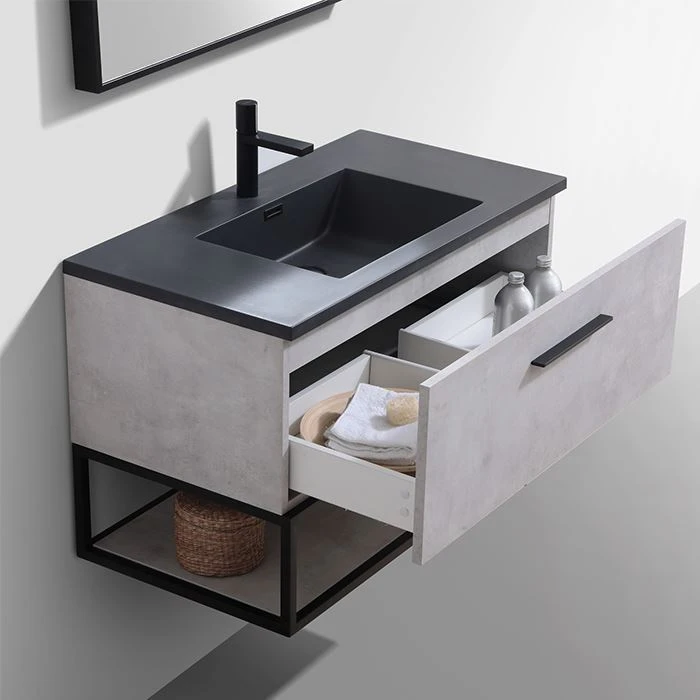
If you're interested in other types of wall-mounted cabinets, we also offer a variety of products, including Sink and Cabinet Set, Floating Single Bathroom Vanity, and 48 Inch Double Vanity. These products are designed to provide both functionality and style to your bathroom or other spaces.
Conclusion
Installing a tall wall-mounted cabinet on a sloped wall may seem like a daunting task, but with the right tools, materials, and techniques, it can be done successfully. By following the steps outlined in this blog and using the tips provided, you'll be able to install your cabinet securely and achieve a professional-looking result. If you have any questions or need further assistance, feel free to contact us for more information. We're here to help you with your cabinet installation needs and look forward to discussing potential procurement opportunities with you.
References
- Home Improvement Manuals
- Cabinet Installation Guides from Manufacturers