

How to install a wall - mounted basin unit in a plasterboard wall?
Jul 29, 2025
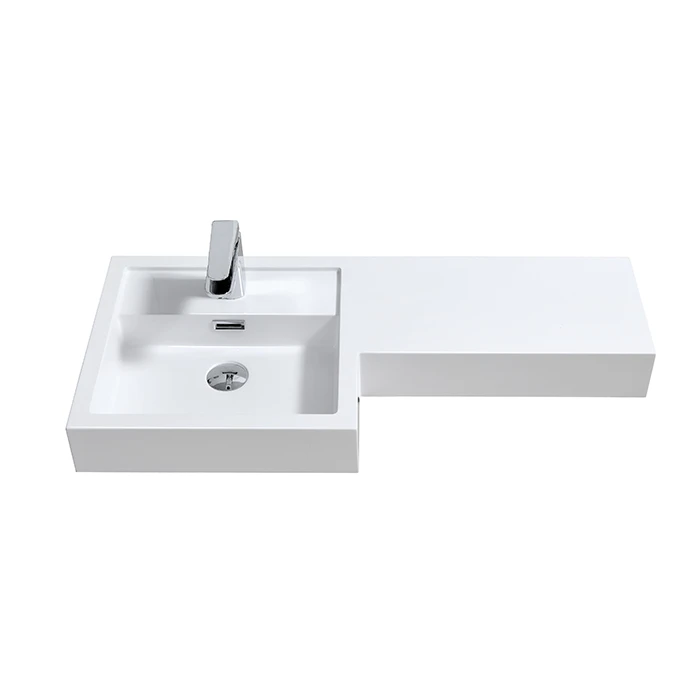
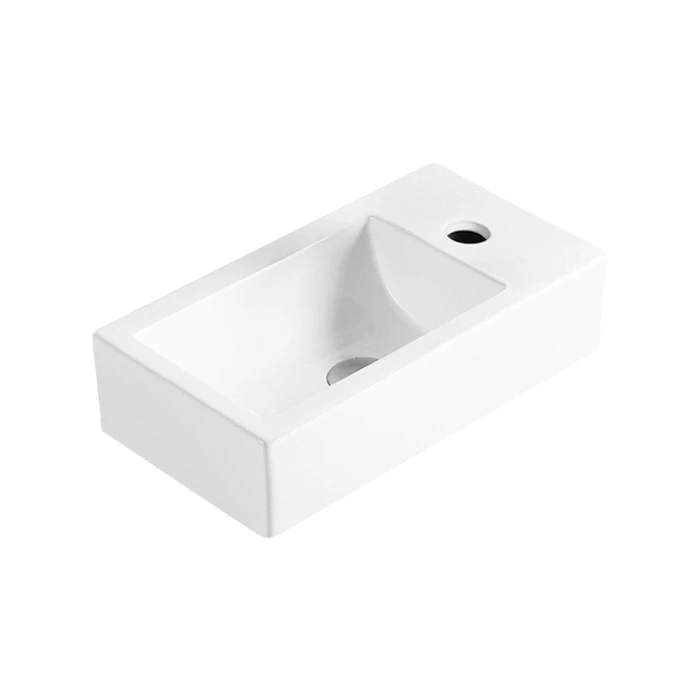
Hey there! I'm a supplier of Wall Mounted Basin Units, and I'm super stoked to share with you how to install a wall-mounted basin unit in a plasterboard wall. It might seem like a daunting task at first, but with the right tools, a bit of know-how, and some elbow grease, you'll have that fancy basin up and running in no time.
Tools and Materials You'll Need
First things first, let's talk about what you're going to need for this project. You'll need a drill, a level, a measuring tape, a pencil, wall plugs, screws, a spirit level, a wrench, and of course, your Wall Mounted Basin Unit. It's also a good idea to have a helper on hand, especially when it comes to lifting the basin into place.
Preparing the Wall
Before you start drilling holes in your plasterboard wall, you need to make sure it's ready for the installation. Start by measuring and marking the position where you want to install the basin. Use a measuring tape and a pencil to mark the height and width of the basin unit on the wall. Make sure you use a level to ensure the marks are straight and even.
Once you've marked the position, it's time to find the studs in the wall. You can use a stud finder to locate the studs behind the plasterboard. Mark the position of the studs with a pencil. If you're lucky enough to have studs in the right place, you can attach the basin unit directly to the studs. However, if there are no studs in the right place, you'll need to use wall plugs to secure the unit to the wall.
Installing the Bracket
Now that you've marked the position and located the studs, it's time to install the bracket. The bracket is what will hold the basin unit in place on the wall. Start by attaching the bracket to the wall using screws and wall plugs. Make sure the bracket is level and secure. You can use a spirit level to check the level of the bracket.
Once the bracket is installed, it's time to attach the basin unit to the bracket. Lift the basin unit onto the bracket and align it with the holes in the bracket. Use screws to secure the basin unit to the bracket. Make sure the screws are tightened securely, but don't over-tighten them, as this could damage the basin unit.
Connecting the Pipes
After the basin unit is installed on the wall, it's time to connect the pipes. Start by connecting the waste pipe to the basin unit. The waste pipe is what will carry the water from the basin to the drain. Use a wrench to tighten the connections. Make sure the connections are tight and secure to prevent any leaks.
Next, connect the water supply pipes to the basin unit. The water supply pipes are what will bring the water to the basin. Use a wrench to tighten the connections. Make sure the connections are tight and secure to prevent any leaks.
Testing the Installation
Once the pipes are connected, it's time to test the installation. Turn on the water supply and check for any leaks. If you notice any leaks, turn off the water supply and tighten the connections. If the leaks persist, you may need to replace the washers or seals.
After you've checked for leaks, run some water into the basin and make sure the drain is working properly. If the water drains slowly or not at all, there may be a blockage in the drain. You can use a plunger or a drain snake to clear the blockage.
Tips and Tricks
- Measure twice, cut once: Make sure you measure and mark the position of the basin unit accurately before you start drilling holes in the wall. A small mistake in the measurement can lead to a big problem later on.
- Use the right tools: Make sure you use the right tools for the job. Using the wrong tools can damage the wall or the basin unit.
- Get a helper: Installing a wall-mounted basin unit can be a two-person job, especially when it comes to lifting the basin into place. Get a friend or family member to help you out.
- Follow the instructions: Make sure you read and follow the instructions that come with the basin unit. The instructions will provide you with important information about the installation process.
Conclusion
Installing a wall-mounted basin unit in a plasterboard wall is a great way to add a modern and stylish touch to your bathroom. With the right tools, a bit of know-how, and some elbow grease, you can install a basin unit in no time. If you're looking for a high-quality Wall Mounted Basin Unit, we've got you covered. We offer a wide range of basin units in different styles and sizes to suit your needs.
If you're interested in purchasing a Wall Mounted Basin Unit from us, or if you have any questions about the installation process, don't hesitate to reach out. We're here to help you make your bathroom dreams a reality. Whether you're looking for a Small Wall Mount Corner Bathroom Sink or a Stone Resin Wall Hung Basin, we've got the perfect solution for you.
References
- DIY Bathroom Installation Guides
- Manufacturer's Instructions for Wall Mounted Basin Units