

How to level a pedestal basin during installation?
Jun 17, 2025
Hey there! I'm a supplier of pedestal basins, and I know that getting that perfect level during installation can be a real pain in the neck. But don't worry, I've got your back. In this blog, I'll walk you through how to level a pedestal basin like a pro.
Why Leveling Matters
First off, let's talk about why leveling is such a big deal. A properly leveled pedestal basin not only looks good but also functions better. If it's not level, water might not drain correctly, leading to pooling and potential clogs. Plus, an unlevel basin can put extra stress on the pedestal and the plumbing connections, which could cause leaks down the road. So, taking the time to level it right is totally worth it.
Tools You'll Need
Before you start, gather these essential tools:
- A spirit level: This is the key to getting that perfect level. You can find a good one at any hardware store.
- Adjustable wrenches: You'll need these to tighten and loosen the nuts and bolts on the plumbing connections.
- Shims: These are thin pieces of material that you can use to adjust the height and level of the basin. You can get plastic or wooden shims.
- Screwdriver: For any screws that need to be tightened or loosened during the installation.
- Measuring tape: To make sure everything is in the right place and at the right height.
Step 1: Prepare the Installation Area
The first thing you need to do is make sure the area where you're going to install the pedestal basin is clean and free of debris. Check the floor for any unevenness. If the floor is really uneven, you might need to use self - leveling compound to make it flat. This will give you a solid base for the pedestal.
Step 2: Assemble the Pedestal and Basin
Now, it's time to put the pedestal and the basin together. Follow the manufacturer's instructions carefully. Usually, you'll need to attach the pedestal to the basin using the provided screws or brackets. Make sure everything is tightened properly, but don't over - tighten, as this could crack the basin or damage the pedestal.
Step 3: Position the Basin
Carefully lift the assembled basin and pedestal and place it in the desired location. Make sure it's centered and aligned with the plumbing pipes. Use the measuring tape to double - check the placement.
Step 4: Check the Level
Here comes the crucial part. Take your spirit level and place it across the top of the basin. Check both the front - to - back and side - to - side levels. If the bubble in the spirit level is not centered, it means the basin is not level.
Step 5: Adjust the Level with Shims
If the basin is not level, you'll need to use shims to adjust it. Insert the shims under the pedestal at the low points. Start with small shims and add more as needed. Keep checking the level with the spirit level as you add the shims. It might take a few tries to get it just right.
Step 6: Secure the Basin
Once the basin is level, you need to secure it in place. This usually involves using screws to attach the pedestal to the floor or the wall, depending on the type of installation. Make sure the screws are tightened firmly, but again, be careful not to over - tighten.
Step 7: Re - check the Level
After securing the basin, re - check the level one more time. Sometimes, tightening the screws can cause the basin to shift slightly. If it's still not level, make some more adjustments with the shims.
Step 8: Connect the Plumbing
Now that the basin is level and secure, it's time to connect the plumbing. Use the adjustable wrenches to attach the water supply lines and the drain pipe. Make sure all the connections are tight to prevent leaks.
Different Types of Pedestal Basins
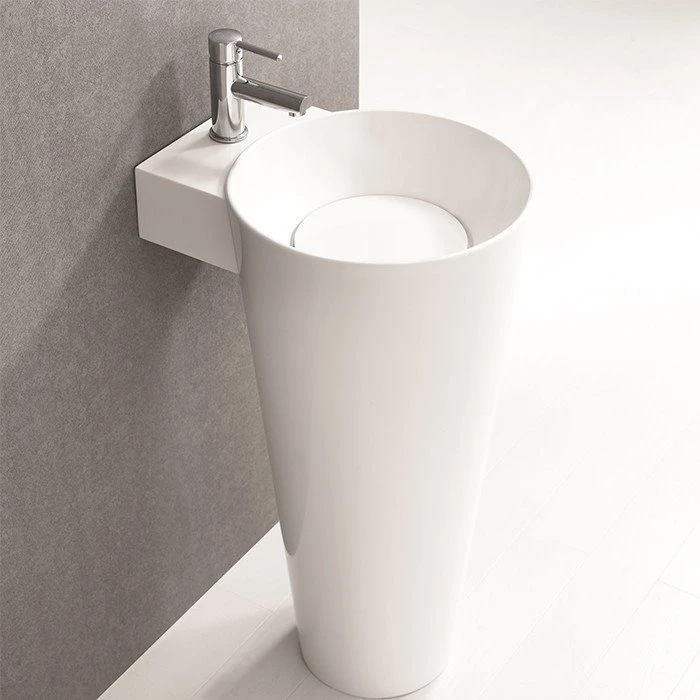
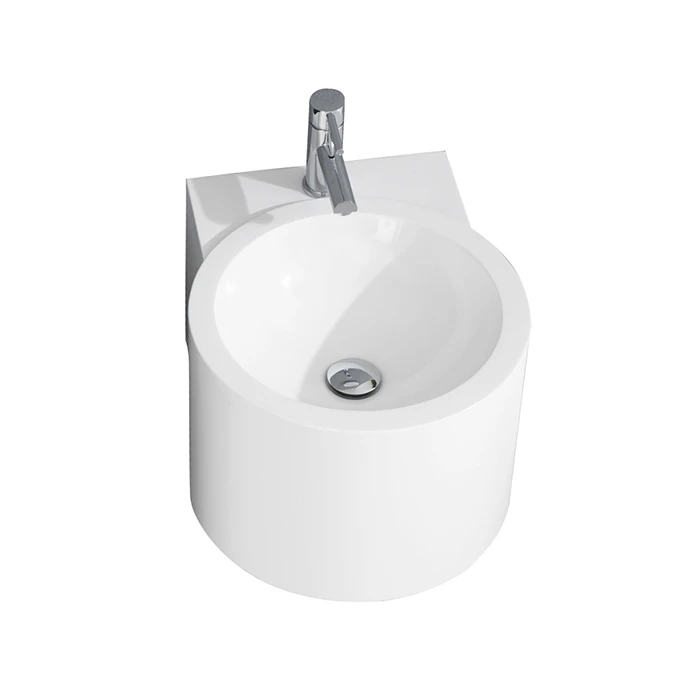
We offer a variety of pedestal basins, like the Pedestal Hand Wash Basin and the Wall Hung Basin with Half Pedestal. Each type might have slightly different installation requirements, but the leveling process is pretty much the same.
The Pedestal Hand Wash Basin is a classic choice. It's freestanding and gives a traditional look to your bathroom. The Wall Hung Basin with Half Pedestal, on the other hand, is a bit more modern. It's attached to the wall, which can save space, and the half - pedestal provides some support.
Troubleshooting
Sometimes, you might run into some problems during the leveling process. If the floor is extremely uneven and you can't get the basin level with shims, you might need to consider a different installation method or even a different location.
If the basin keeps shifting when you're trying to secure it, you can try using a little bit of silicone adhesive under the pedestal to hold it in place while you tighten the screws.
Conclusion
Leveling a pedestal basin during installation might seem like a hassle, but it's really important for the long - term performance and appearance of your bathroom fixture. By following these steps and using the right tools, you can get a perfectly level basin every time.
If you're in the market for a high - quality pedestal basin, we've got you covered. We offer a wide range of styles and sizes to suit your needs. Whether you're a homeowner doing a DIY project or a contractor working on a big job, we can provide you with the best pedestal basins.
If you have any questions about our products or the installation process, don't hesitate to reach out. We're here to help you make the right choice and ensure a smooth installation. Contact us to start a procurement discussion, and let's make your bathroom project a success!
References
- General plumbing installation guides from local hardware stores.
- Manufacturer's installation manuals for pedestal basins.