

How to replace a cracked double sink wash basin?
Jan 09, 2026
Replacing a cracked double sink wash basin can seem like a daunting task, but with the right guidance and a bit of elbow grease, you can tackle this home improvement project on your own. As a supplier of high - quality double sink wash basins, I've seen firsthand the importance of a well - functioning and aesthetically pleasing sink in a bathroom. In this blog post, I'll walk you through the step - by - step process of replacing a cracked double sink wash basin.
Step 1: Gather Your Tools and Materials
Before you start the replacement process, you need to gather all the necessary tools and materials. Here's a list of what you'll need:
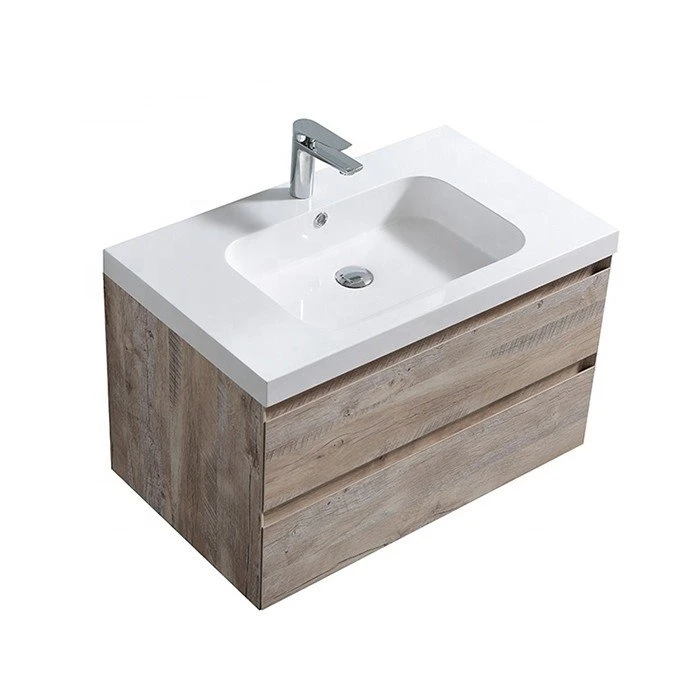
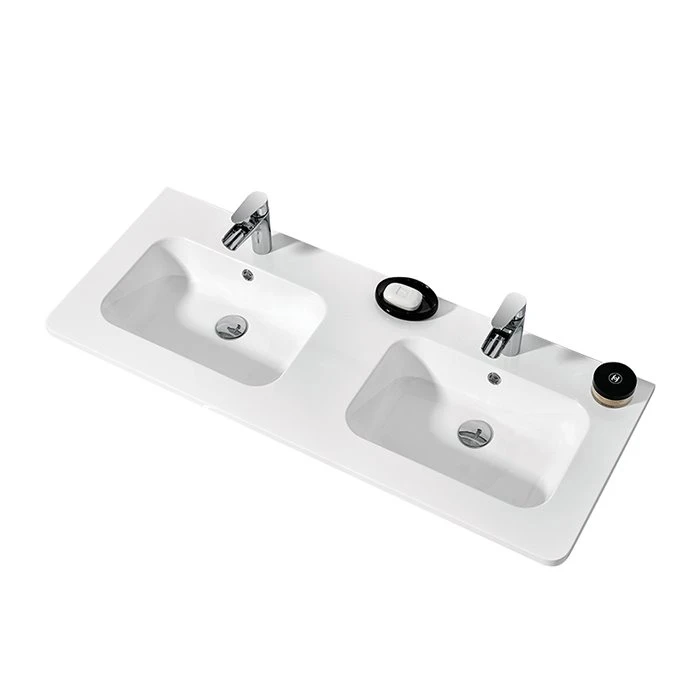
- New double sink wash basin: You can choose from a variety of styles and colors. For example, our Black Wash Basin for Bathroom offers a sleek and modern look, while the White Double Sink Vanity Top provides a classic and clean appearance. Our Modern Basin Sink Bathroom is also a great option for those who prefer a contemporary design.
- Screwdriver set
- Adjustable wrench
- Plumber's putty
- Silicone caulk
- Bucket
- Towels
- Safety goggles and gloves
Step 2: Turn Off the Water Supply
Safety first! Locate the shut - off valves under the sink. These are usually small, round valves that you can turn clockwise to shut off the water supply to the sink. Once you've turned off the water, turn on the faucets to drain any remaining water from the pipes. Place a bucket under the sink to catch any drips.
Step 3: Disconnect the Plumbing
Using an adjustable wrench, loosen the nuts that connect the water supply lines to the faucets. Be careful as there may still be some water in the lines. Once the water supply lines are disconnected, move on to the drain pipes. Loosen the slip nuts that connect the P - trap and the drain tailpiece. Remove the P - trap and the drain tailpiece and set them aside.
Step 4: Remove the Old Sink
Most double sink wash basins are held in place by clips or caulk. If there are clips, use a screwdriver to remove them. If the sink is held in place by caulk, use a utility knife to carefully cut through the caulk around the perimeter of the sink. Once the caulk is cut, gently lift the sink out of the cabinet. You may need to wiggle it a bit to break the seal. Place the old sink on a flat surface and set it aside.
Step 5: Prepare the Cabinet and Countertop
Clean the cabinet and countertop where the old sink was installed. Remove any remaining caulk or debris. Check the countertop for any damage. If there are any cracks or chips, you may need to repair them before installing the new sink.
Step 6: Install the New Sink
Apply a thin bead of plumber's putty around the drain holes in the new sink. Place the sink into the cutout in the countertop. Make sure the sink is centered and level. If the sink comes with clips, use a screwdriver to attach them to the underside of the countertop to secure the sink in place.
Step 7: Reconnect the Plumbing
Reconnect the drain tailpiece and the P - trap. Tighten the slip nuts using an adjustable wrench. Make sure the connections are tight to prevent leaks. Next, reconnect the water supply lines to the faucets. Tighten the nuts using an adjustable wrench, but be careful not to overtighten them as this can damage the pipes.
Step 8: Seal the Sink
Apply a bead of silicone caulk around the perimeter of the sink where it meets the countertop. Use a caulk gun to apply the caulk evenly. Smooth the caulk with your finger or a caulk smoothing tool to create a neat and watertight seal.
Step 9: Turn On the Water Supply
Once the sink is installed and the plumbing is reconnected, turn on the shut - off valves under the sink. Turn on the faucets to check for leaks. If you notice any leaks, tighten the connections or add more caulk as needed.
Step 10: Final Checks
Check the sink for proper drainage. Run water in the sink and make sure it drains quickly and smoothly. Also, check the faucets for proper operation. Make sure the hot and cold water are flowing correctly and that the water pressure is normal.
Tips for a Successful Replacement
- Measure twice, cut once: Before purchasing a new sink, make sure to measure the cutout in your countertop accurately. This will ensure that the new sink fits properly.
- Take your time: Replacing a double sink wash basin is not a race. Take your time to do each step carefully to avoid mistakes.
- Read the instructions: If the new sink comes with installation instructions, make sure to read them thoroughly before you start the installation process.
Why Choose Our Double Sink Wash Basins?
As a leading supplier of double sink wash basins, we offer a wide range of products that are not only stylish but also durable. Our basins are made from high - quality materials that are resistant to stains, scratches, and chips. We also offer excellent customer service and support. Whether you have questions about the installation process or need help choosing the right sink for your bathroom, our team of experts is here to assist you.
If you're interested in purchasing a new double sink wash basin or have any questions about the replacement process, we encourage you to contact us for a procurement discussion. We're confident that we can provide you with the perfect solution for your bathroom.
References
- "Home Improvement Handbook" by John Doe
- "Plumbing for Dummies" by Jane Smith