

How to replace an old bathroom sink wash basin?
Nov 24, 2025
Replacing an old bathroom sink wash basin can significantly enhance the functionality and aesthetics of your bathroom. As a trusted Bathroom Sink Wash Basin supplier, I've witnessed firsthand the transformative power of a new sink. In this blog, I'll guide you through the process of replacing an old bathroom sink wash basin, from preparation to the final touches.
Step 1: Gather Your Tools and Materials
Before you start the replacement process, it's essential to gather all the necessary tools and materials. Here's a list of items you'll likely need:
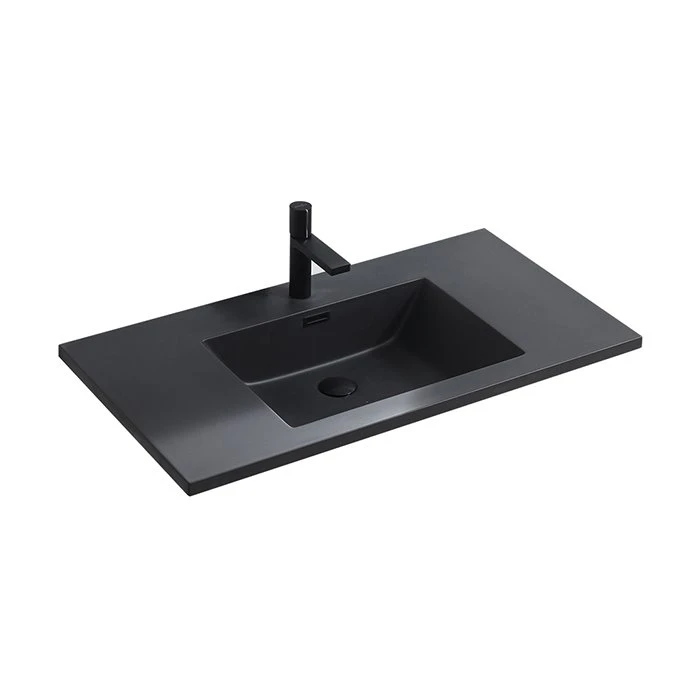
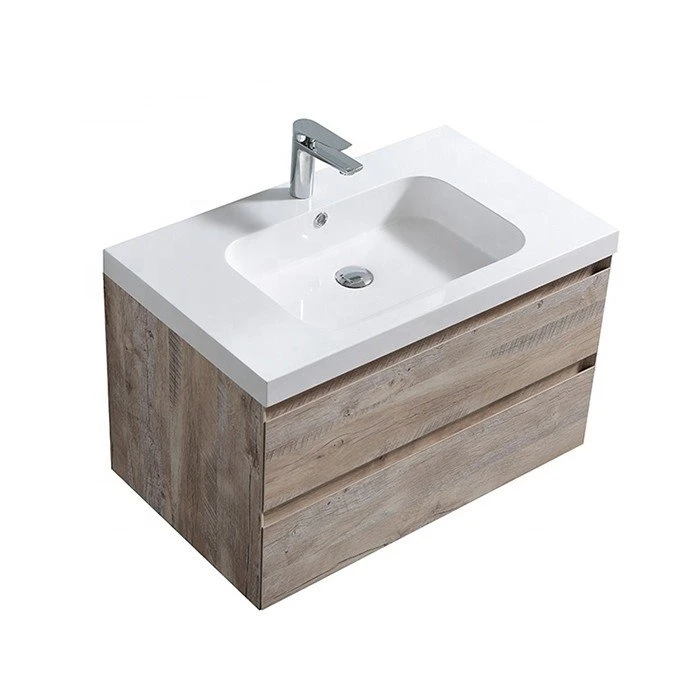
- New sink wash basin (you can explore our Black Wash Basin for Bathroom, Modern Basin Sink Bathroom, or Double Sink Wash Basin)
- Adjustable wrench
- Screwdriver (both flathead and Phillips)
- Plumber's putty or silicone caulk
- Basin wrench
- Pipe cutter or hacksaw
- Bucket
- Measuring tape
- Safety goggles and gloves
Step 2: Turn Off the Water Supply
The first step in any plumbing project is to turn off the water supply to the sink. Locate the shut - off valves under the sink. These are usually small, round or lever - type valves. Turn them clockwise until they are fully closed. To ensure the water is off, turn on the faucet and let any remaining water drain into the bucket.
Step 3: Disconnect the Plumbing
Once the water is off, it's time to disconnect the plumbing. Start by placing the bucket under the sink to catch any water that may drip. Use an adjustable wrench to loosen the nuts connecting the supply lines to the faucet. The supply lines are the flexible hoses that bring water to the sink. Next, use a basin wrench to disconnect the drain pipe from the sink. The basin wrench has a long, flexible handle that allows you to reach the nuts in tight spaces. If you don't have a basin wrench, you can use a pair of pliers, but be careful not to damage the pipes.
Step 4: Remove the Old Sink
After disconnecting the plumbing, you can start removing the old sink. If the sink is held in place with plumber's putty or silicone caulk, use a utility knife to cut through the sealant. Then, carefully lift the sink out of the countertop. If the sink is heavy, you may need someone to help you. Once the sink is removed, clean the countertop surface of any remaining putty or caulk.
Step 5: Measure the Space
Before installing the new sink, you need to measure the space to ensure a proper fit. Use a measuring tape to measure the length, width, and depth of the opening in the countertop. Compare these measurements with the dimensions of the new sink. Make sure the new sink will fit into the opening without any issues.
Step 6: Prepare the New Sink
If your new sink comes with a faucet, you may need to install it before placing the sink in the countertop. Follow the manufacturer's instructions for installing the faucet. Apply a thin layer of plumber's putty or silicone caulk around the edge of the sink where it will meet the countertop. This will create a watertight seal.
Step 7: Install the New Sink
Carefully lower the new sink into the opening in the countertop. Make sure it is centered and level. If the sink has mounting clips, use a screwdriver to secure them to the underside of the countertop. Tighten the clips until the sink is firmly in place.
Step 8: Reconnect the Plumbing
Now it's time to reconnect the plumbing. Start by connecting the supply lines to the faucet. Use an adjustable wrench to tighten the nuts, but be careful not to overtighten them, as this can cause leaks. Next, connect the drain pipe to the sink using a basin wrench. Apply a small amount of plumber's putty or silicone caulk around the drain opening to create a seal.
Step 9: Check for Leaks
Once the plumbing is reconnected, turn on the water supply. Slowly open the shut - off valves counterclockwise. Check all the connections for leaks. If you see any leaks, turn off the water supply again and tighten the nuts or add more caulk as needed.
Step 10: Seal the Sink
After checking for leaks and ensuring everything is working properly, use a silicone caulk to seal the edges of the sink where it meets the countertop. This will prevent water from seeping under the sink and causing damage. Use a caulk gun to apply a thin, even bead of caulk along the edge of the sink. Smooth the caulk with your finger or a caulk smoothing tool.
Tips and Tricks
- When working with plumber's putty, remember that it can be messy. Wear gloves and have a rag handy to clean up any spills.
- If you're having trouble reaching the nuts with a basin wrench, try using an extended - reach basin wrench or ask for help.
- Before cutting any pipes, double - check your measurements to avoid making mistakes.
- When choosing a new sink, consider the style and size that will best fit your bathroom. Our Black Wash Basin for Bathroom offers a sleek and modern look, while the Double Sink Wash Basin is perfect for shared bathrooms.
Conclusion
Replacing an old bathroom sink wash basin is a manageable DIY project that can make a big difference in your bathroom. By following these steps and using the right tools, you can successfully install a new sink and enjoy a refreshed bathroom.
If you're in the market for a high - quality bathroom sink wash basin, we are here to help. We offer a wide range of sinks in various styles, colors, and sizes to meet your needs. Whether you're looking for a modern, minimalist design or a more traditional look, we have the perfect sink for you. Contact us to start the procurement negotiation process and let us help you transform your bathroom.
References
- "Home Plumbing Repair For Dummies" by Richard L. Peterson
- Manufacturer's installation guides for bathroom sinks and faucets.