

How to test the water tightness of a cabinet bathroom basin?
Jun 17, 2025
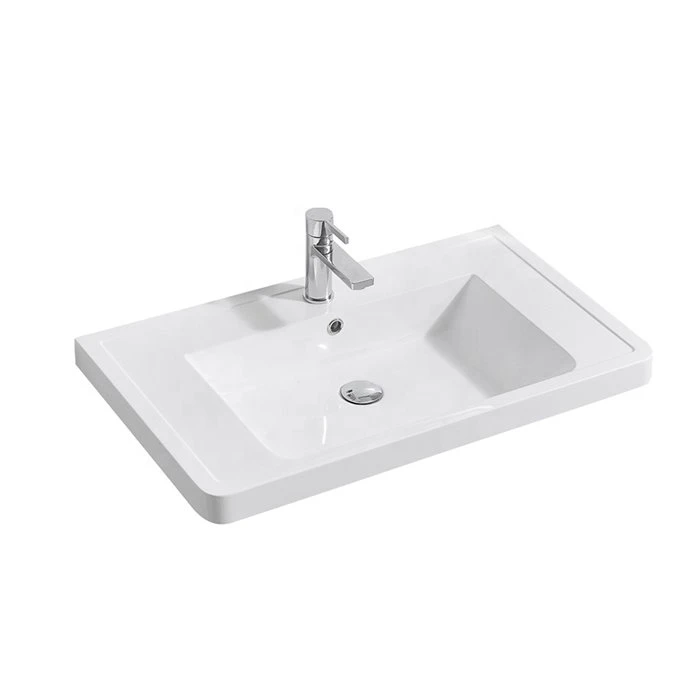
Hey there! As a supplier of Cabinet Bathroom Basins, I've had my fair share of experiences when it comes to ensuring the quality of our products. One of the most crucial aspects of a cabinet bathroom basin is its water tightness. After all, you don't want any leaks causing damage to your bathroom cabinets or floors. In this blog post, I'm gonna walk you through how to test the water tightness of a cabinet bathroom basin.
Why Testing Water Tightness Matters
Before we dive into the testing process, let's talk about why it's so important. A leaky bathroom basin can lead to all sorts of problems. It can cause water damage to your cabinets, which might rot over time. Mold and mildew can also start growing in the damp areas, posing health risks. Plus, a leaky basin can waste a significant amount of water, which isn't just bad for your utility bills but also for the environment.
Tools You'll Need
To test the water tightness of a cabinet bathroom basin, you'll need a few basic tools:
- Water source: You can use a hose or a bucket to fill the basin with water.
- Sealant: If you find any leaks, you'll need some sealant to fix them.
- Tape measure: This will help you measure the water level accurately.
- Marker or tape: To mark the initial water level in the basin.
Step-by-Step Testing Process
Step 1: Prepare the Basin
First, make sure the basin is clean and free of any debris. Check the drain and the overflow holes to ensure they're not clogged. If there are any loose parts or fittings, tighten them up. This will give you a more accurate test result.
Step 2: Fill the Basin with Water
Use your water source to fill the basin with water. Fill it up to a level that's about an inch or two below the top edge. This will give you enough water to check for leaks without overflowing. As you're filling the basin, keep an eye out for any obvious leaks around the drain or the connections.
Step 3: Mark the Water Level
Once the basin is filled, use your marker or tape to mark the water level on the inside of the basin. Make sure the mark is clear and visible. This will be your reference point to check for any water loss over time.
Step 4: Wait and Observe
Now, it's time to wait. Leave the water in the basin for at least 24 hours. During this time, check the basin periodically to see if there are any signs of water leaking out. Look for drips around the drain, the connections, and the edges of the basin. You can also check the cabinet below the basin for any signs of moisture or water stains.
Step 5: Check the Water Level
After 24 hours, check the water level in the basin again. Compare it to the mark you made earlier. If the water level has dropped significantly, it's a sign that there's a leak somewhere. Use your tape measure to measure the difference in the water level. A small drop of a few millimeters might be normal due to evaporation, but a larger drop indicates a leak.
Step 6: Locate the Leak
If you find that there's a leak, it's time to locate it. Start by checking the drain and the connections. Look for any signs of water dripping or seeping out. You can also try running your hand along the edges of the basin to feel for any moisture. If the leak is around the drain, it might be due to a loose connection or a faulty gasket. If it's along the edges of the basin, it could be a problem with the sealant.
Step 7: Fix the Leak
Once you've located the leak, it's time to fix it. If the leak is due to a loose connection, tighten the fittings using a wrench or pliers. If it's a problem with the gasket, replace it with a new one. For leaks along the edges of the basin, use a high-quality sealant to seal the gap. Make sure to follow the manufacturer's instructions when applying the sealant.
Step 8: Retest the Basin
After fixing the leak, repeat the testing process to make sure the problem has been resolved. Fill the basin with water again, mark the water level, and wait for 24 hours. Check the water level and look for any signs of leaks. If everything is okay, then you're good to go!

Tips for Ensuring Water Tightness
- Choose a high-quality basin: When purchasing a Cabinet Bathroom Basin, make sure to choose one from a reputable supplier. High-quality basins are more likely to be water-tight and durable. You can check out our Cabinet Bathroom Basin collection for some great options.
- Proper installation: Make sure the basin is installed correctly. Follow the manufacturer's instructions carefully and use the right tools and materials. Improper installation can lead to leaks and other problems.
- Regular maintenance: Keep your bathroom basin clean and well-maintained. Check the drain and the connections periodically for any signs of wear or damage. Replace any worn-out parts as soon as possible.
Conclusion
Testing the water tightness of a cabinet bathroom basin is an important step in ensuring its quality and longevity. By following the steps outlined in this blog post, you can easily test for leaks and fix them before they cause any serious damage. Remember, a water-tight basin not only saves you money on water bills but also protects your bathroom from water damage.
If you're in the market for a new Cabinet Bathroom Basin, we've got a wide range of options to choose from. Check out our Modern Basin Sink Bathroom and Bathroom Sink Wash Basin collections. If you have any questions or would like to discuss a purchase, feel free to reach out to us. We're here to help you find the perfect basin for your bathroom.
References
- Home Improvement Handbook
- Plumbing Guide for Beginners