

What are the steps to install a pedestal basin?
Jul 14, 2025
Installing a pedestal basin might seem like a daunting task, but with the right steps and a bit of guidance, it can be a manageable DIY project. As a pedestal basin supplier, I've seen firsthand the transformation a well - installed pedestal basin can bring to a bathroom. In this blog, I'll walk you through the steps to install a pedestal basin, ensuring a successful and aesthetically pleasing result.
Step 1: Preparation
Before you start any installation work, gather all the necessary tools and materials. You'll need a pedestal basin, which you can explore our Pedestal Hand Wash Basin and Wall Hung Basin with Half Pedestal options. Other tools include a drill, a spirit level, a tape measure, a wrench, a hacksaw, plumber's putty, silicone sealant, and wall plugs.
Measure the space where you plan to install the basin. Ensure that the area is large enough to accommodate the basin and pedestal. Check the wall for plumbing pipes and electrical wires. Mark the position of the water supply pipes and the waste pipe on the wall and floor. This will help you align the basin and pedestal correctly during installation.
Step 2: Assemble the Pedestal and Basin
Some pedestal basins come pre - assembled, but if yours doesn't, start by assembling the pedestal. Most pedestals have a base and a column. Follow the manufacturer's instructions to attach the column to the base securely. Make sure all the screws are tightened properly to avoid any wobbling.
Next, attach the waste fitting to the basin. Apply a small amount of plumber's putty around the waste hole in the basin. Insert the waste fitting through the hole and tighten the nut underneath. Use a wrench to ensure a snug fit, but be careful not to overtighten and crack the basin.
Step 3: Position the Pedestal
Once the pedestal is assembled and the waste fitting is attached to the basin, it's time to position the pedestal. Place the pedestal in the marked location on the floor. Use a spirit level to make sure the pedestal is perfectly vertical. If it's not level, you can adjust it by inserting shims under the base of the pedestal.
Mark the holes for the wall brackets on the wall. Drill holes into the wall at the marked points and insert wall plugs. These wall plugs will provide a secure anchor for the pedestal to the wall.
Step 4: Attach the Pedestal to the Wall
Using the screws provided, attach the pedestal to the wall brackets. Make sure the pedestal is firmly fixed to the wall. Double - check the level to ensure that the pedestal remains vertical. A properly installed pedestal will provide stable support for the basin.
Step 5: Place the Basin on the Pedestal
Lift the basin carefully and place it on top of the pedestal. Align the holes in the basin with the holes in the pedestal. You may need to adjust the position slightly to ensure a perfect fit. Once the basin is in place, insert the bolts through the holes and tighten the nuts underneath. This will secure the basin to the pedestal.
Step 6: Connect the Water Supply
Before connecting the water supply, turn off the main water supply to your bathroom. You can usually find the shut - off valve under the sink or near the water meter.
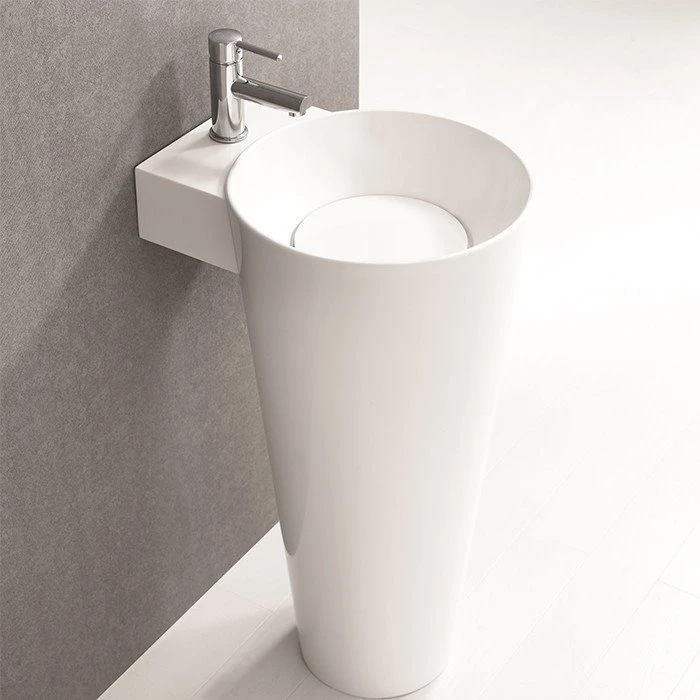
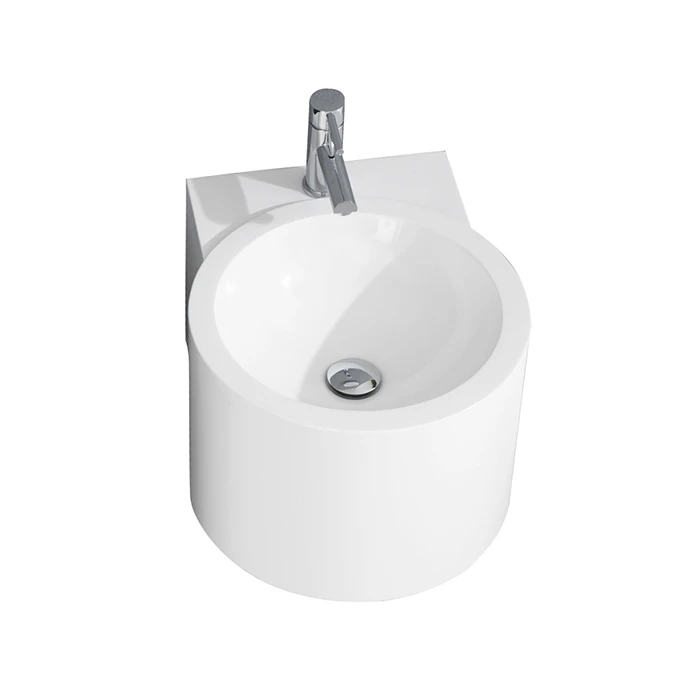
Connect the hot and cold water supply pipes to the taps on the basin. Use flexible hoses for easy installation. Make sure the connections are tight to prevent any leaks. You can use a wrench to tighten the nuts, but again, be careful not to overtighten.
Step 7: Connect the Waste Pipe
Connect the waste pipe from the basin to the waste outlet in the wall or floor. Apply a small amount of silicone sealant around the connection points to prevent leaks. Use a waste trap to prevent odors from coming back into the bathroom. The waste trap should be installed according to the manufacturer's instructions.
Step 8: Seal the Edges
Once all the connections are made, it's time to seal the edges of the basin and pedestal. Apply a bead of silicone sealant around the edges where the basin meets the wall and the pedestal. Use a sealant gun for a smooth and even application. Wipe off any excess sealant with a damp cloth before it dries.
Step 9: Test the Installation
After completing the installation, turn on the main water supply. Check for any leaks at the water supply connections and the waste pipe connections. Run water through the taps and let it drain. Observe the water flow and make sure there are no blockages in the waste pipe.
If you notice any leaks, turn off the water supply immediately and tighten the connections. If the problem persists, you may need to disassemble the connection and re - apply the sealant or replace the washers.
Step 10: Final Touches
Once you're satisfied that the installation is leak - free and the basin is functioning properly, clean the basin and pedestal. Remove any fingerprints, smudges, or excess sealant. You can use a mild bathroom cleaner and a soft cloth for this.
Arrange your bathroom accessories around the basin, such as soap dispensers, toothbrush holders, and towels. This will complete the look of your newly installed pedestal basin.
In conclusion, installing a pedestal basin is a multi - step process that requires careful planning and attention to detail. By following these steps, you can ensure a successful installation that enhances the functionality and aesthetics of your bathroom.
If you're interested in purchasing a high - quality pedestal basin for your bathroom project, we're here to assist you. We offer a wide range of pedestal basins in different styles, sizes, and materials to meet your specific needs. Whether you're a homeowner looking to upgrade your bathroom or a contractor working on a commercial project, we can provide the right pedestal basin solution for you. Don't hesitate to contact us for more information and to start a procurement discussion. We're committed to providing excellent customer service and ensuring that you find the perfect pedestal basin for your space.
References
- "Bathroom Installation Guide" by Home Improvement Association
- Manufacturer's Installation Manuals for Pedestal Basins