

What is the installation process for a drop - in bathroom sink wash basin?
Aug 05, 2025
Hey there! As a supplier of Bathroom Sink Wash Basin, I've seen a lot of folks scratching their heads over the installation process. So, I thought I'd share a detailed guide on how to install a drop-in bathroom sink wash basin.
What You'll Need
First things first, let's talk about the tools and materials you'll need. You'll need a screwdriver, a putty knife, a level, a silicone caulk gun, a measuring tape, and of course, your Bathroom Sink Wash Basin. It's also a good idea to have some rags on hand to clean up any mess.
Pre-Installation Checks
Before you start the installation, you need to make sure that your vanity cabinet is ready. Check the cabinet for any damage or unevenness. The surface where the sink will sit should be clean, dry, and level. Use a level to ensure that the cabinet is perfectly horizontal. If it's not, you may need to shim the cabinet legs to make it level.
Next, measure the cutout in the vanity cabinet. The cutout should match the dimensions of your sink. Most drop-in sinks come with a template that you can use to mark the cutout on the cabinet. Make sure to double-check your measurements before you start cutting.
Preparing the Sink
Once you've checked the cabinet, it's time to prepare the sink. Remove any packaging and protective film from the sink. Inspect the sink for any cracks or chips. If you find any damage, contact your supplier right away.
Now, apply a bead of silicone caulk around the underside of the sink rim. This will help create a watertight seal between the sink and the cabinet. Make sure to apply the caulk evenly and avoid getting any on the top of the sink.
Installing the Sink
Carefully lower the sink into the cutout in the vanity cabinet. Make sure that the sink is centered and level. Use a level to check the sink from all sides. If the sink is not level, you can adjust it by gently tapping it with a rubber mallet.
Once the sink is level, press down firmly on the sink to secure it in place. The silicone caulk will start to squeeze out around the edges of the sink. Use a putty knife to smooth out the caulk and remove any excess.
Connecting the Plumbing
After the sink is installed, it's time to connect the plumbing. Start by attaching the drain assembly to the sink. Most drain assemblies come with a gasket and a locknut. Place the gasket over the drain opening in the sink and then insert the drain assembly. Tighten the locknut under the sink to secure the drain assembly in place.
Next, connect the water supply lines to the faucet. Most faucets come with flexible water supply lines that are easy to install. Simply attach the supply lines to the hot and cold water valves on the faucet and then tighten the nuts.
Once the drain and water supply lines are connected, turn on the water and check for any leaks. If you find any leaks, tighten the connections or replace the gaskets as needed.
Finishing Touches
After you've checked for leaks, it's time to add the finishing touches. Use a silicone caulk to seal the gap between the sink and the countertop. This will help prevent water from seeping into the cabinet. Apply the caulk evenly and smooth it out with a putty knife.
Finally, clean the sink and the countertop to remove any dirt or debris. Your new drop-in bathroom sink wash basin is now ready to use!
Different Types of Sinks
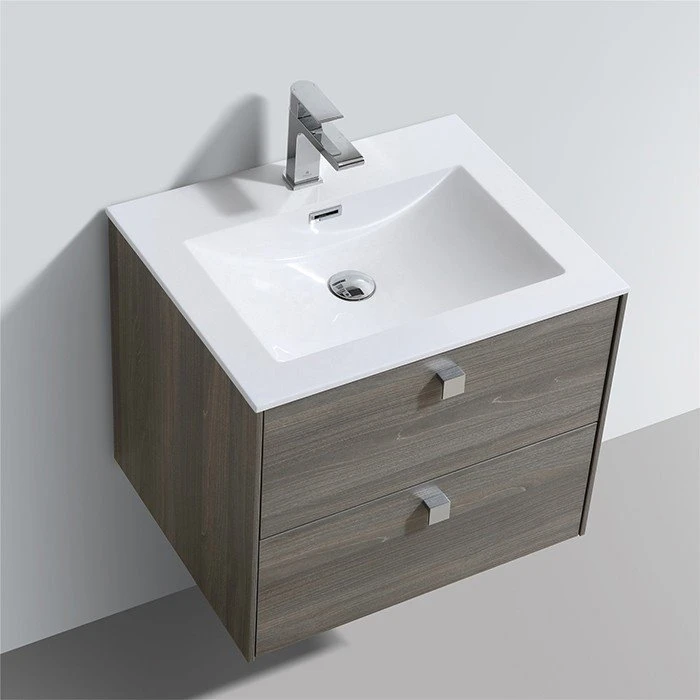
There are various types of drop-in sinks available in the market. For instance, the White Double Sink Vanity Top is a great option for shared bathrooms. It provides enough space for two people to use the sink at the same time. The installation process for a double sink vanity top is similar to that of a single sink, but you'll need to make sure that the cutouts are properly aligned and that the plumbing is connected correctly.
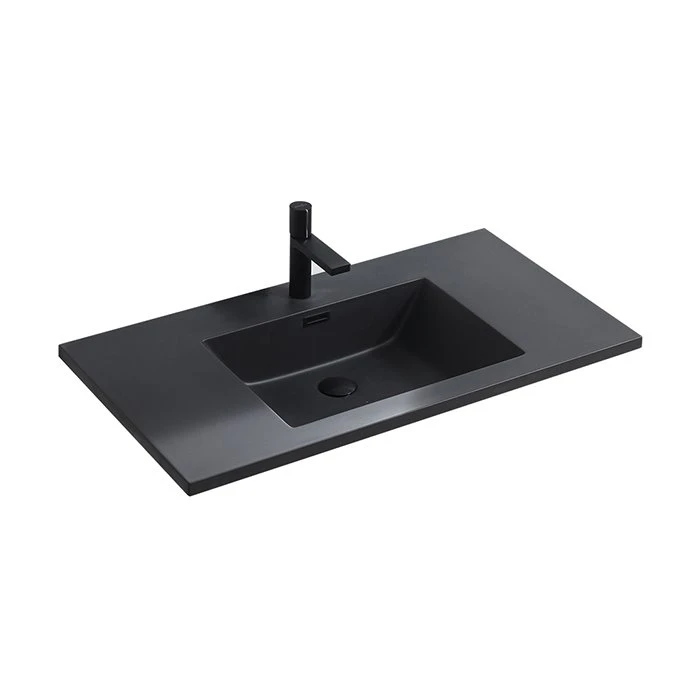
Another popular option is the Black Wash Basin for Bathroom. Black sinks can add a touch of elegance and modernity to your bathroom. When installing a black sink, make sure to choose a countertop color that complements the sink.
Tips and Tricks
- Take your time: Installation can be a bit tricky, so don't rush it. Make sure to follow the instructions carefully and double-check your work at each step.
- Get help: If you're not comfortable doing the installation yourself, don't hesitate to hire a professional plumber. They have the experience and tools to install the sink quickly and correctly.
- Use the right tools: Using the right tools will make the installation process much easier. Make sure to have all the necessary tools on hand before you start.
Contact Us for Purchasing
If you're in the market for a new drop-in bathroom sink wash basin, we've got you covered. We offer a wide range of high-quality sinks in different styles, colors, and sizes. Whether you're looking for a classic white sink or a trendy black sink, we have something for everyone.
If you have any questions or need help choosing the right sink for your bathroom, feel free to reach out to us. We're here to assist you every step of the way. Contact us today to start your purchasing journey!
References
- Home Depot. (n.d.). How to Install a Drop-In Sink.
- Lowe's. (n.d.). Drop-In Sink Installation Guide.