

How to replace the drain in a countertop basin?
Jan 12, 2026
Hey there, folks! I'm a supplier of countertop basins, and I've seen my fair share of drain - related issues over the years. Whether you're dealing with a leaky drain or just want to upgrade your countertop basin setup, replacing the drain is a key maintenance task. In this blog, I'll walk you through the process step - by - step.
Why Replace Your Drain?
Before we dive into the how - to, let's talk about why you might want to replace the drain in the first place. Old drains can get clogged up with hair, soap scum, and other gunk over time. This can lead to slow drainage or even backups. A leaky drain can also cause water damage to your countertop and cabinets. And if you're looking to give your bathroom a fresh look, a new drain can be a simple yet effective upgrade.
Tools You'll Need
- A set of screwdrivers (both flat - head and Phillips - head)
- A pair of pliers
- A basin wrench
- A pipe cutter (optional)
- Teflon tape
- A bucket to collect any water that might spill
- Replacement drain kit
Step 1: Gather Your Materials and Prep the Area
First things first, make sure you have all the necessary tools and your replacement drain kit on hand. As a countertop basin supplier, I can tell you that it's important to choose a high - quality drain that fits your basin correctly. You can check out our Large Rectangular Vessel Sink and see the kind of basins we offer. It's a good idea to measure your existing drain to ensure you get the right size.
Once you've got everything, turn off the water supply to the sink. You should have shut - off valves under the sink for the hot and cold water. Turn them clockwise until they're fully closed. Place your bucket under the sink to catch any water that drips out when you remove the old drain.
Step 2: Remove the Old Drain
Start by removing the pop - up stopper if your sink has one. This usually involves unscrewing or prying off the decorative cap on top of the stopper and then pulling the stopper out.
Next, use your pliers or a basin wrench to loosen the nuts that hold the drain pipe to the sink drain assembly. The basin wrench is especially useful here because it can reach those hard - to - access nuts under the sink. Once the nuts are loose, you can slide the drain pipe off the assembly.
Under the sink, there's usually a large nut that secures the drain flange to the sink. Loosen this nut using your basin wrench or pliers. It might be a bit tight, so you may need to put some muscle into it. Once the nut is off, you can pull the old drain flange up through the sink.
Step 3: Clean the Sink and Flange Area
With the old drain removed, it's time to give the sink and the area where the drain flange sits a good clean. Use a mild cleaner and a cloth to wipe away any dirt, grime, or old sealant. Make sure the surface is completely dry before you install the new drain.
Step 4: Install the New Drain
Take your new drain flange and apply a thin layer of plumber's putty around the bottom edge. This will help create a watertight seal. Lower the drain flange through the hole in the sink from the top.
Under the sink, place the rubber gasket and the large retaining nut on the drain flange. Tighten the nut using your basin wrench or pliers. Be careful not to overtighten, as this can crack the sink or damage the drain.

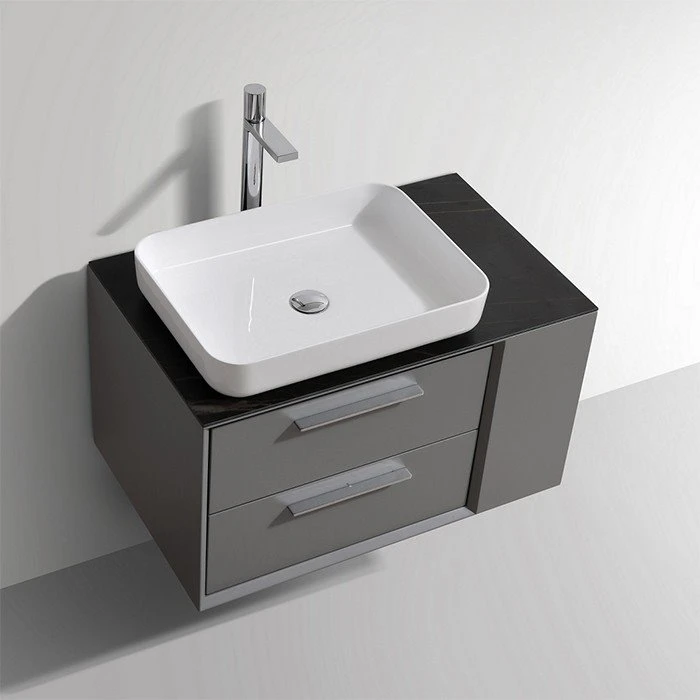
Step 5: Reconnect the Drain Pipe
Now it's time to reconnect the drain pipe. Wrap some Teflon tape around the threads of the drain pipe and the drain assembly to prevent leaks. Slide the drain pipe onto the assembly and tighten the nuts using your pliers.
Step 6: Reinstall the Pop - Up Stopper
If you removed the pop - up stopper earlier, now is the time to put it back in. Follow the manufacturer's instructions for reattaching it to the drain assembly.
Step 7: Test the Drain
Once everything is assembled, turn on the water supply to the sink. Let the water run for a few minutes and check for any leaks under the sink and around the drain. If you notice any leaks, tighten the nuts a little more or add more Teflon tape.
Upgrading Your Basin Along with the Drain
If you've been thinking about giving your bathroom a more comprehensive upgrade, now might be the perfect time. Consider our Stone Resin Countertop Basin. It's made of high - quality stone resin, which is durable and easy to clean. And our White Stone Resin Basin adds a touch of elegance to any bathroom.
Contact Us for More
If you're in the market for a new countertop basin or have any questions about drain replacement, don't hesitate to reach out. As a trusted countertop basin supplier, we're here to help you find the best solutions for your needs. Whether you're a homeowner looking to spruce up your bathroom or a contractor working on a project, we've got you covered.
References
- "The Home Improvement Bible": A comprehensive guide to DIY home repairs.
- "Plumbing for Beginners": A great resource for learning the basics of plumbing work.